


Bandaging
When to bandage
- For minor cuts and grazes (to prevent your pet licking them).
- For small wounds to feet/lower legs.
- To help stop bleeding, click here.
- If your vet advises you to.
WHEN NOT TO BANDAGE
- If the area is swollen and painful - if it is fractured you could make it worse.
- If you think there may be something stuck inside the wound.
- If your pet is getting agitated, or showing signs of aggression.
- Most cats will not tolerate a bandage being applied.
- If you are not confident to do so - a poorly applied bandage could make things worse!
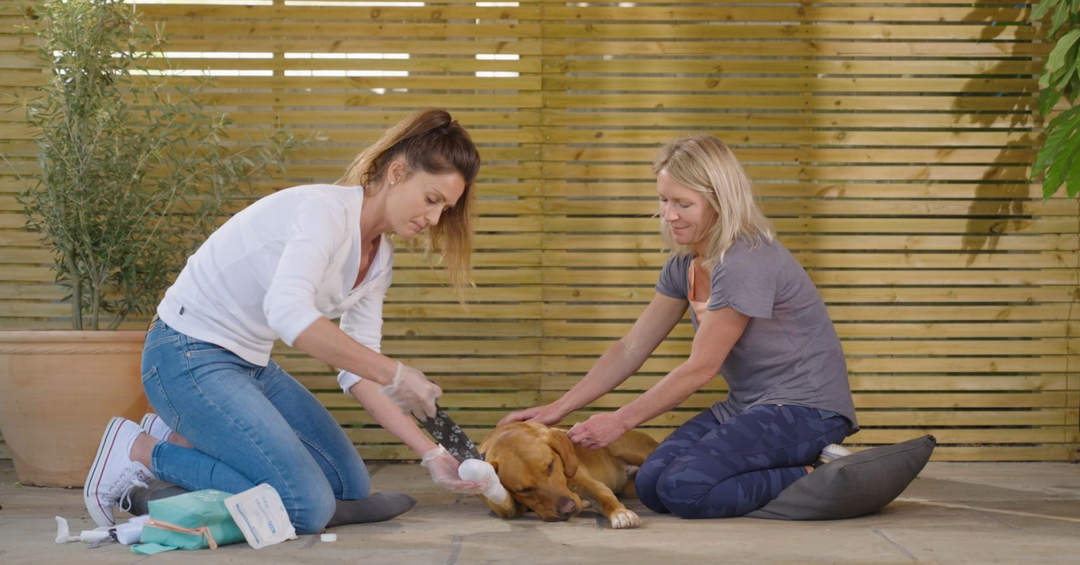
Applying a bandage
Step 1: STOP BLEEDING AND CLEAN the WOUND
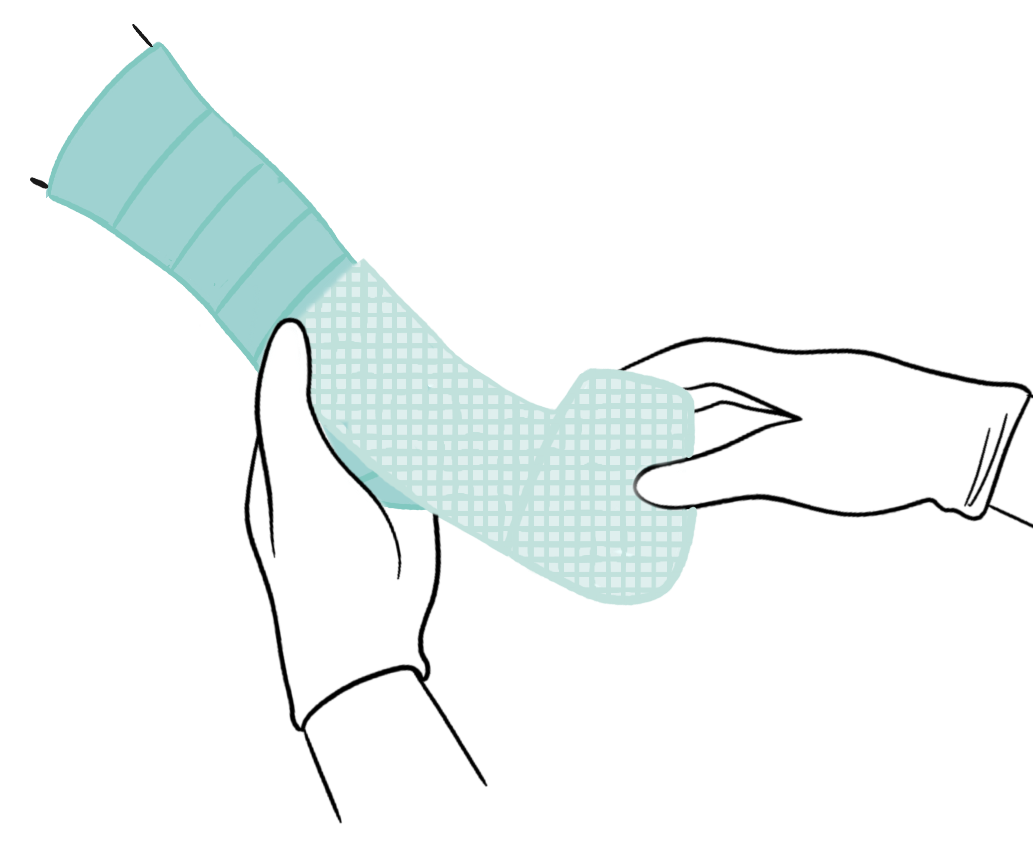
STEP 2: APPLY A DRESSING
- A dressing protects the wound and promotes healing.
- Your kit has two types of dressings:
- Non-adhesive (for small wounds, use scissors to cut them to fit)
- Abdominal pad (for large wounds)
- Apply one of these to the wound, and secure in place with a small piece of microporous tape from your kit.
- Don’t use cotton wool as a dressing as it will stick to the wound.

STEP 3: BANDAGE OVER THE DRESSING
Do this in 3 layers, one on top of the other.
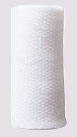
Layer 1 - padded bandage material (the soft one)
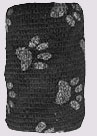
Layer 2 - conforming bandage material (the
knitted one)
Layer 3 - vet wrap (cohesive bandage). Stretch vet wrap out before applying as it constricts and may wrap too tightly otherwise.
Layer 1
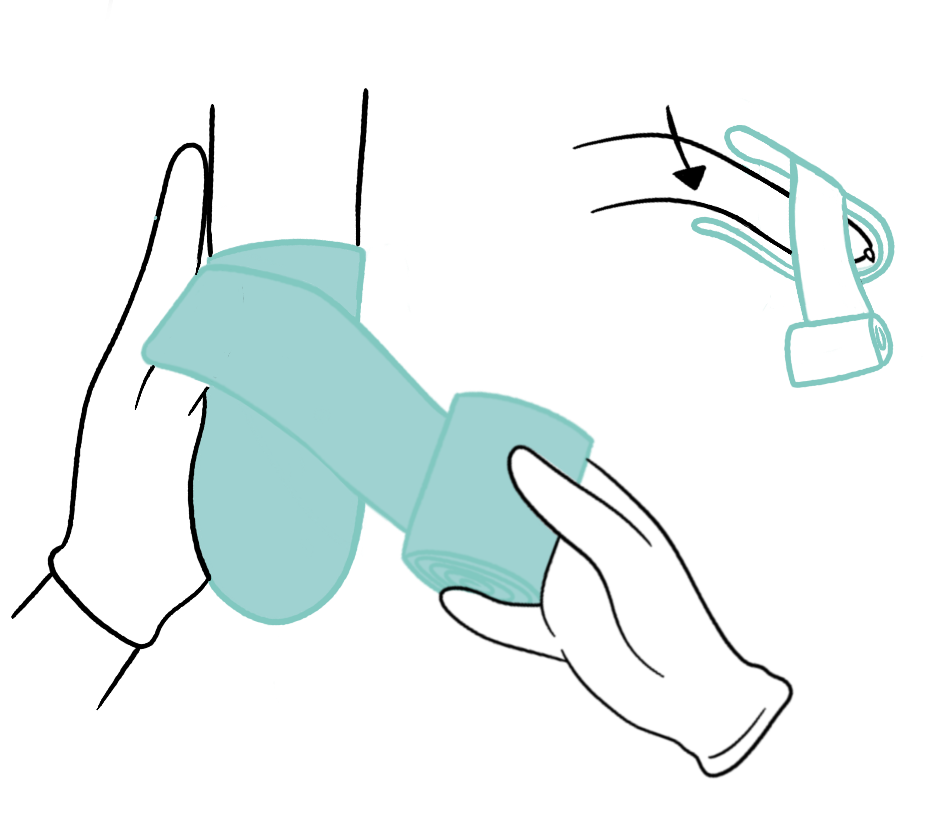
Step 1 (UP AND DOWN THE PAW)
- Start with the padded bandage at the top of the paw.

- Run the bandage down the length of the paw, over their toes, then back along the underside of the paw to the opposite side.

- Double the padded bandage over on itself back to where you started. Hold this in place with your finger and thumb.

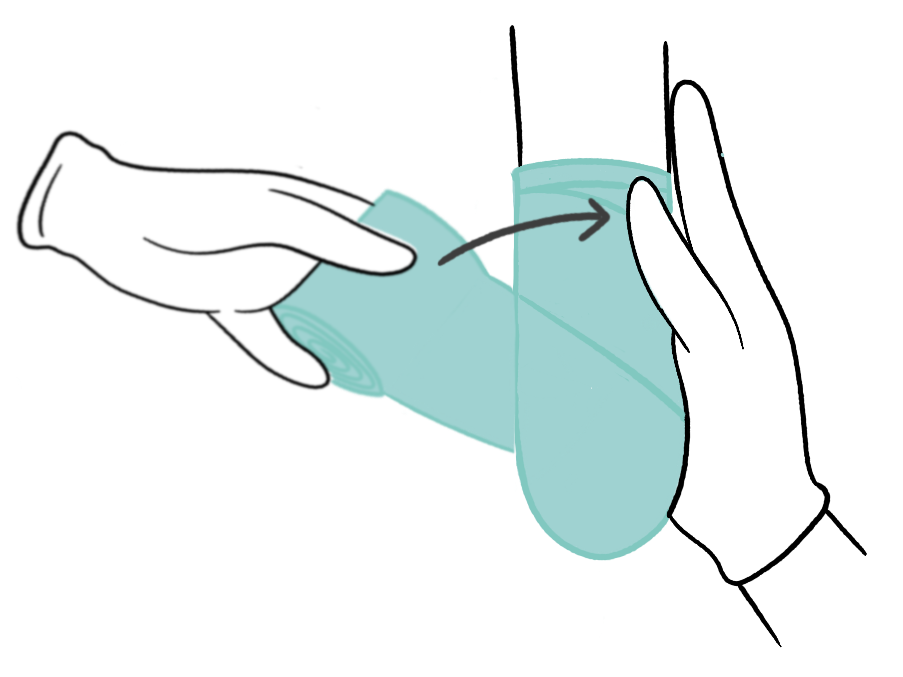
Step 2 (AROUND THE PAW)
- Now wrap around the paw (diagonal to step one) to keep in place what you’ve just done.
- Keep wrapping your way up the leg to above their wrist/ankle, over-lapping each loop by half the bandage width, using even pressure.


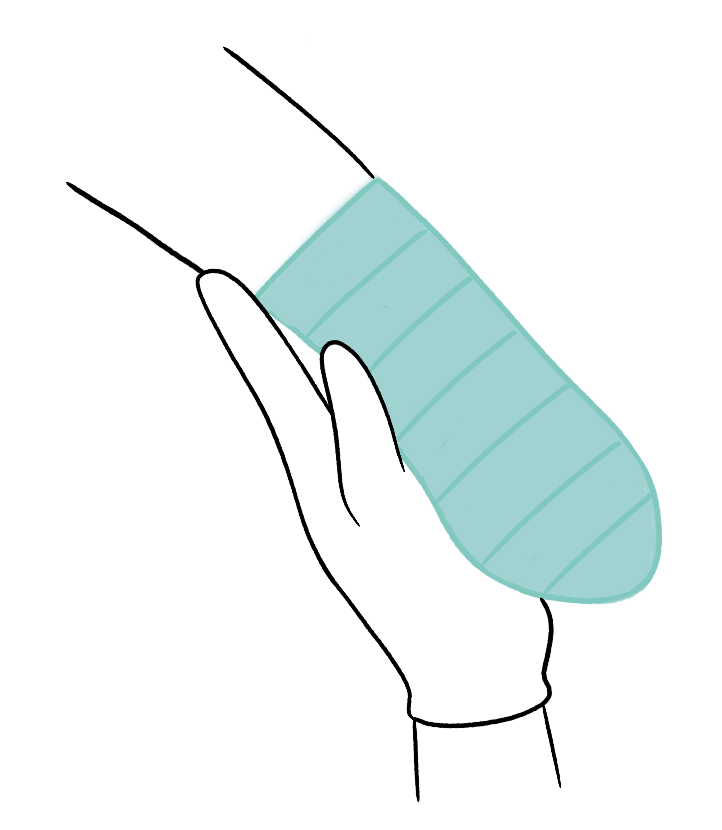
Layer 2
- Repeat steps 1 and 2 above with the conforming bandage going on top of the padded bandage.
Layer 3
- Repeat steps 1 and 2 again with the vet wrap on top of the conforming bandage (loosen/stretch this first to ensure it doesn’t constrict).

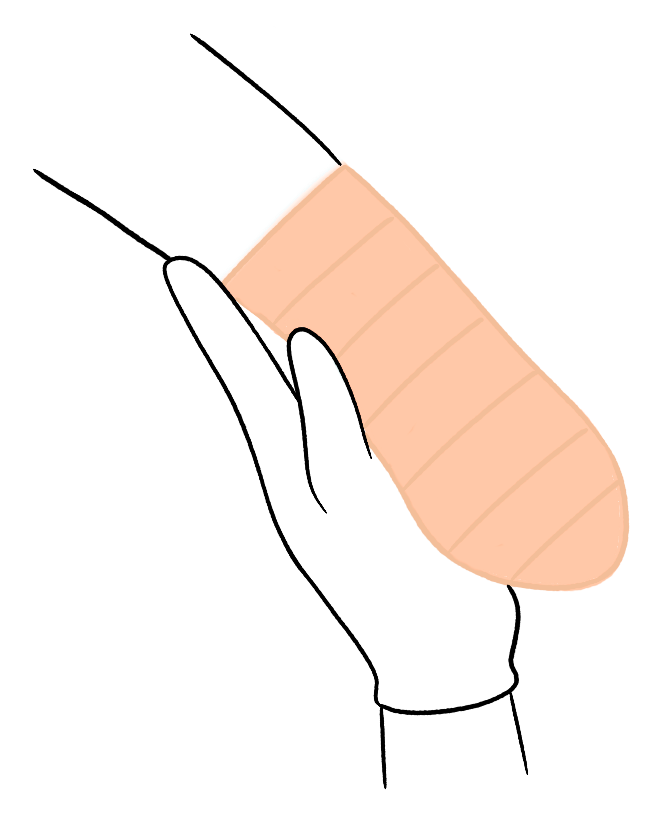
- Finish the vet wrap layer at the level of the other layers so it doesn’t rub the skin.
- Check you can get two of your fingers down the dressing and that your pet seems comfortable and check that it can't be easily tugged off.


Tips
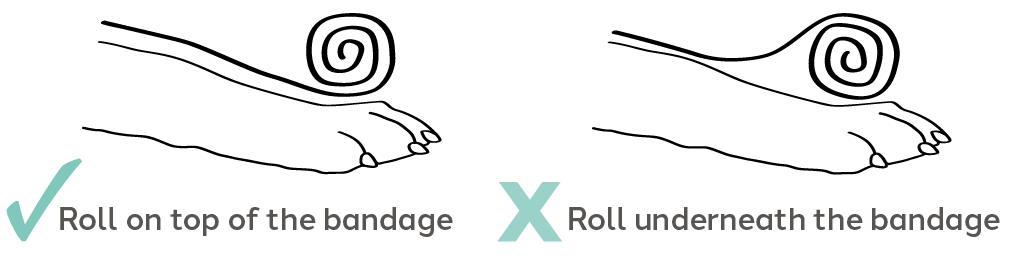
When bandaging, keep the roll on the top facing you not underneath to ensure even tension.
- Always include the foot when bandaging a leg
- Bandage from the foot upwards using even pressure
- Each layer of bandage should overlay the last by about half the width of the bandage
- Cohesive bandages (vet wrap) constrict so it's important to stretch and release this before putting it on your pet. One way to ensure you do this is by unrolling a section of vet wrap first and then rolling it back up before placing it. You can always leave this layer off if unsure.
- Cover paw bandages with a waterproof layer (e.g. plastic bag) when outside to ensure the bandage stays clean and dry - you can use the biohazard bags out of your kit for this purpose.
- Don’t bandage the neck or face (it may affect breathing) unless advised to by your vet.
- Don’t leave a bandage on for more than 24 hours unless advised to by your vet.
- If your vet has advised for the bandage to be on more than 24 hours put thin strips of cotton wool between their toes to stop them rubbing inside the bandage.
- When you remove the bandage each day, check the wound for signs of infection (swelling, redness, increasing pain, pus, pet feeling unwell).
Note:
These instructions are only guidelines.
You place a bandage at your own risk.
If in doubt, call your vet.
Anything more than a minor cut or graze should be seen by your vet.
These instructions are only guidelines.
You place a bandage at your own risk.
If in doubt, call your vet.
Anything more than a minor cut or graze should be seen by your vet.